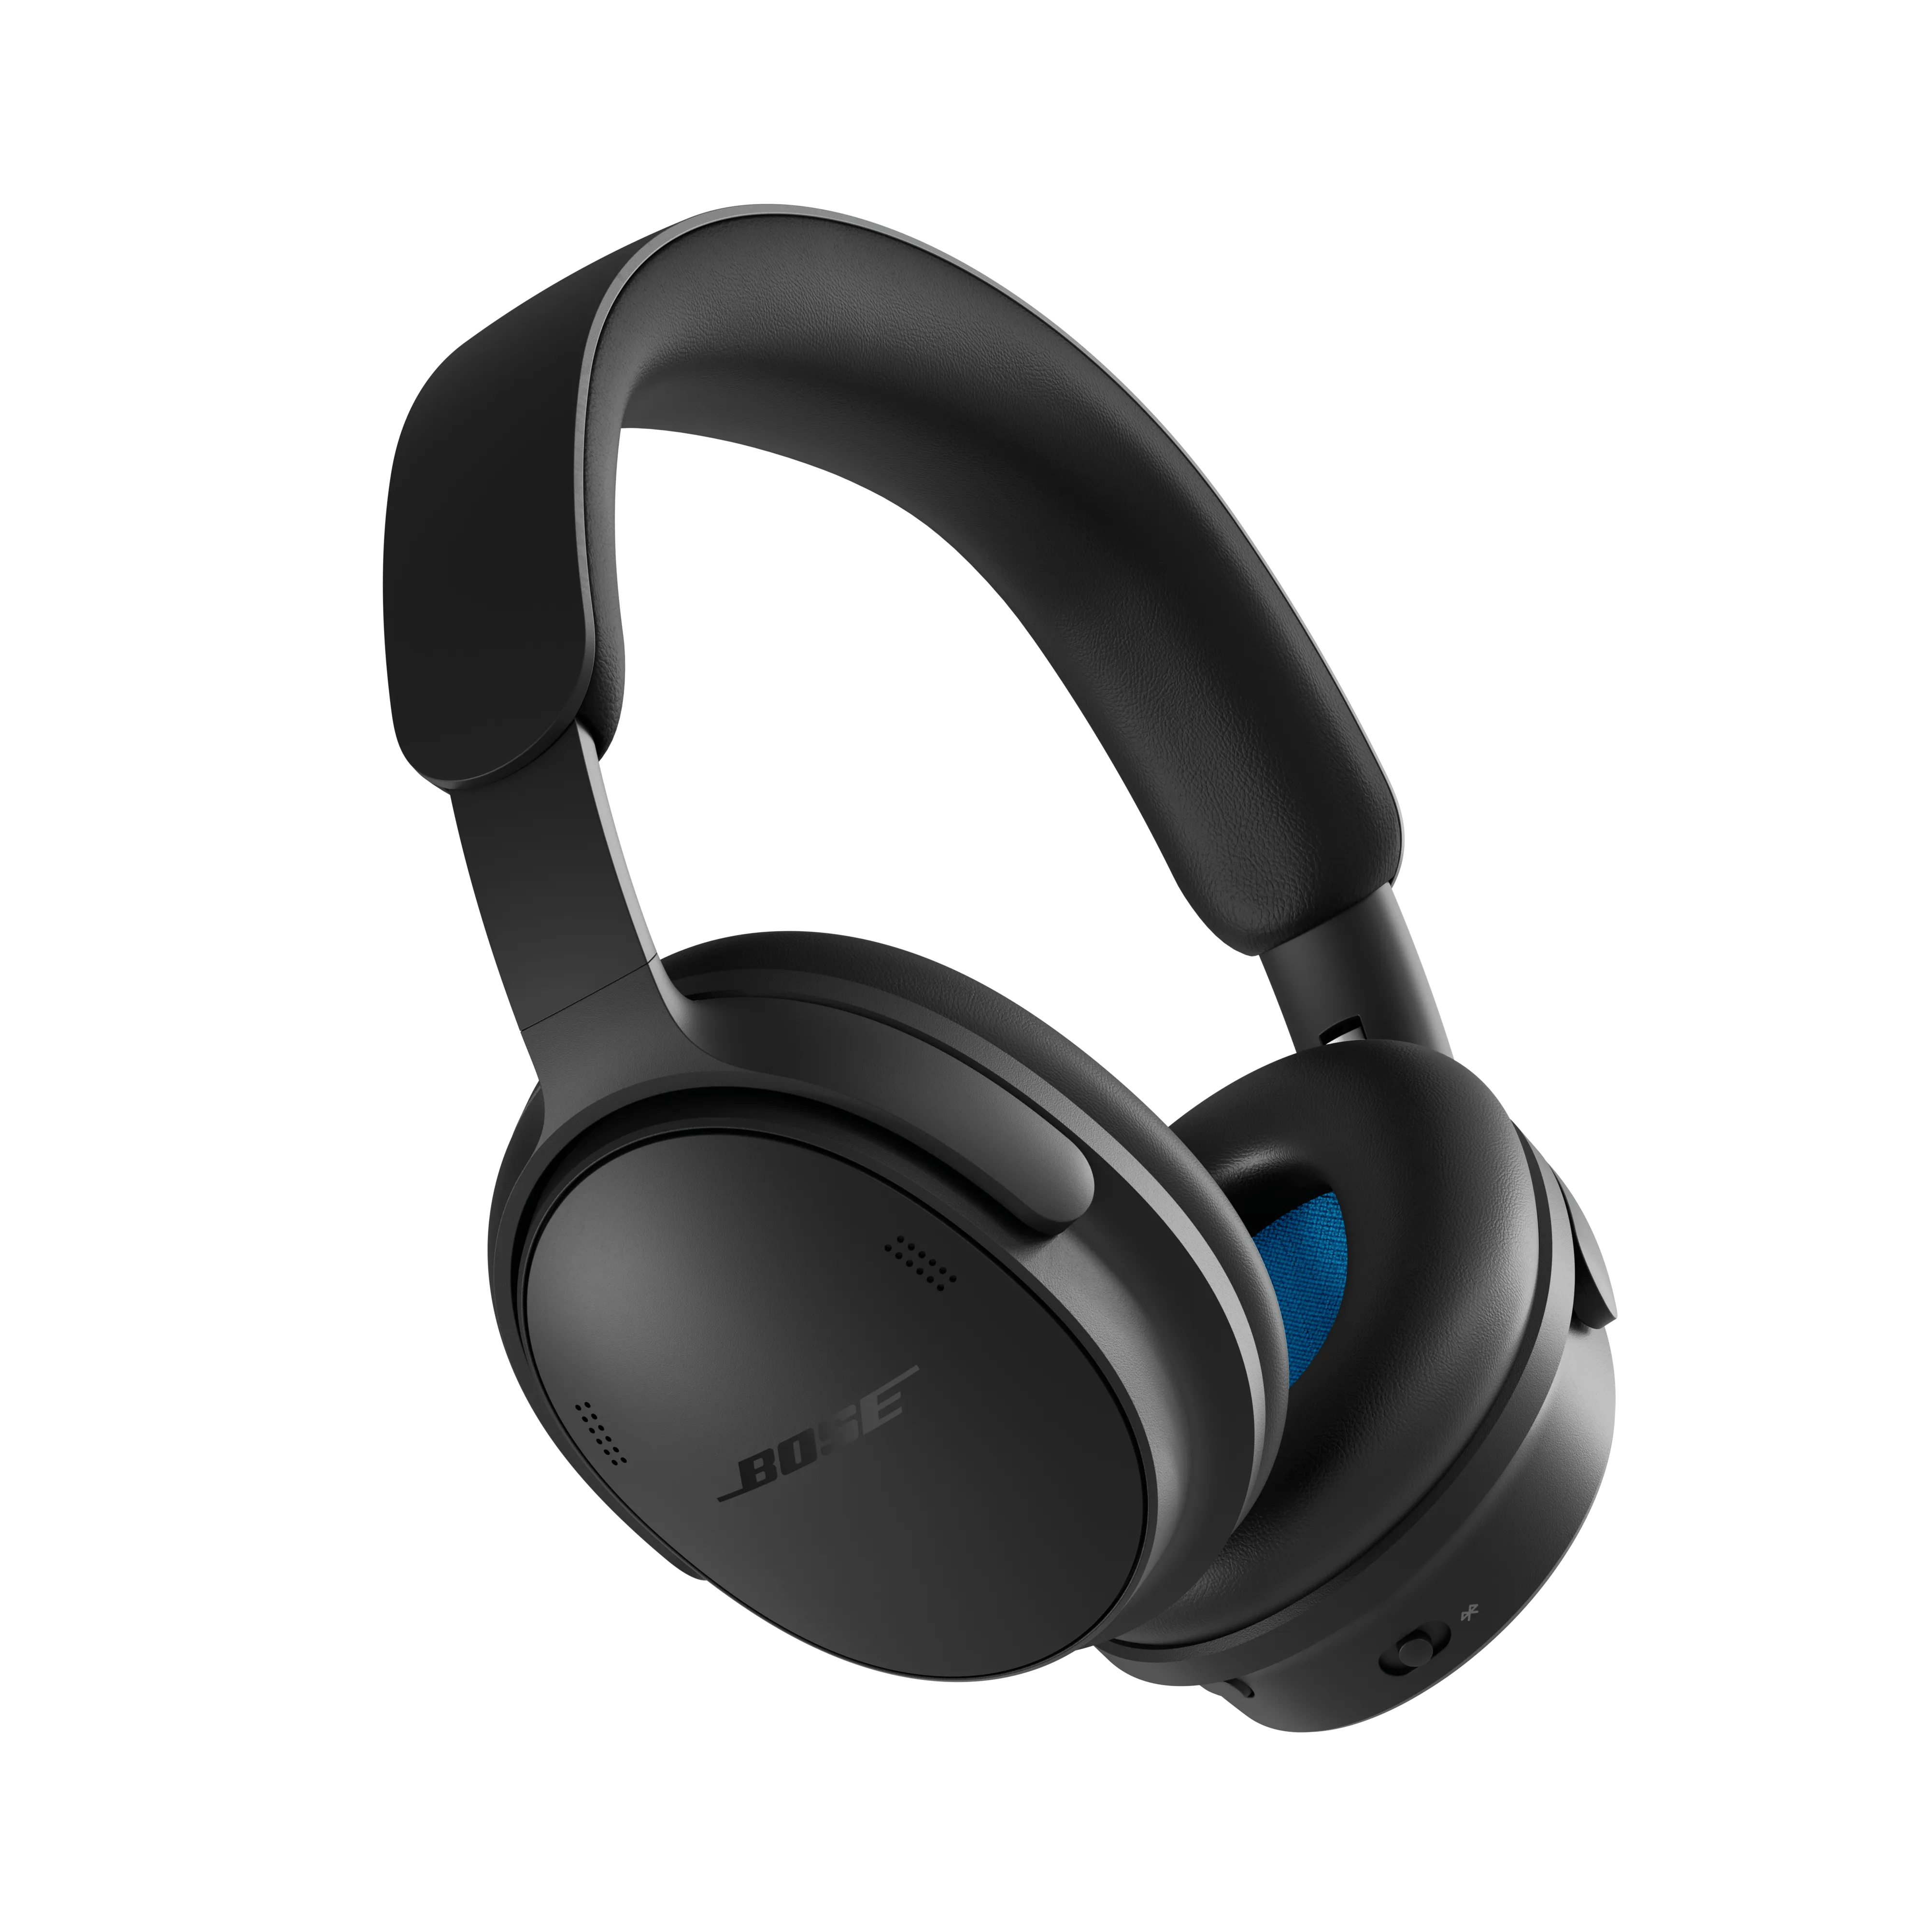
Power Issues | Bose QuietComfort Headphones (2nd Gen)
bose-quietcomfort-headphones-(2nd-gen)
Bose QuietComfort Headphones (2nd Gen)Sold from 2026

Power Issues | Bose QuietComfort Headphones (2nd Gen)

Be sure the headset is powered on.

The headset is on when the power switch on the bottom of the left ear cup is in the center position. 

If battery has enough charge, a white LED will glow just below the volume down button, located on the bottom of the right ear cup.

Be sure to power off the product when it's not in use.

To conserve battery power, be sure the power switch is in the Off position when the product is not in use.

Device tones and notification sounds can noticeably affect battery performance.

Device tones and notification sounds can noticeably affect battery performance.

If your product has been in extreme hot or cold temperature, wait until it reaches room temperature.

If the battery temperature is beyond the operating temperature range, wait until the product reaches room temperature, then try again.

Check the auto-off settings and adjust accordingly

The auto-off setting lets your product automatically turn off and enter standby if it is not in use for a period of time. This is useful, for example, to conserve power in case your product is accidentally left powered on.
By default, this feature is set to "Never." However, it's possible you or someone else may have adjusted the auto-off timer in the Bose App.

To check and adjust the auto-off settings, see Enabling or disabling Auto-off mode .

Slide the power switch on and off several times

If the switch seems difficult to slide into the "ON" position, slide the switch on and off a few times to ease its out of box state.

Reset your headphones

If the headphones are unresponsive, you can reset them. Resetting the headphones resets the product controls and reboots the headphones. It doesn’t clear any device settings.

  1. Connect the small end of the USB cable into the USB-C port on the left earcup.
  2. Slide the Power/Bluetooth switch to the right. At the same time, connect the other end into a USB-A power source such as a computer or wall charger. When the reset is complete, the status light glows according to the current charge level.

Check the condition of the USB cable.

Inspect the USB cable for any signs of damage, including cuts, fraying, bent connectors, exposed wires, or excessive wear.

Damage to the cable can cause charging issues, audio interruptions, connectivity problems, or prevent the headset from being detected by your device.

If the USB plug or any part of the cable is damaged, replace the USB cable and test the connection again.

Note: If available, try a different compatible USB cable to determine whether the cable is causing the issue.

Try a different charger.

Use a different charger that is known to work properly and meets the product's power requirements. Connect the product to the alternate charger and allow it to charge for a few minutes. If the product begins charging normally, the original charger may be faulty and should be replaced.

Your headphones need to be replaced.

If the steps above did not resolve your issue, your headphones need to be replaced. Click START A REPAIR OR REPLACEMENT below to begin the process online — the fastest and easiest way to get service.